Building your own custom gaming PC is like creating your personal gateway to another universe. For young adults, it’s a fun and rewarding project that goes beyond just gaming — it’s about expression and performance on your terms. With endless options for customization, you can craft a machine that not only meets your gaming needs but also reflects your style. From selecting the right components to putting everything together, this guide is designed to walk you through the essential steps, making the process less daunting and more of a thrilling adventure.
Choosing the Right Components
When crafting your first custom gaming PC, selecting the right components is both exciting and crucial. The core elements—CPU, GPU, RAM, and storage—define not only your gaming experience but also set the tone for future upgrades. Let’s dive into the essentials, explore how to balance performance with budget, and navigate the aesthetics of today’s gaming rigs.
The CPU is the brain of your PC, controlling everything from game logic to background processing. A multi-core processor ensures smooth gameplay and efficient multitasking, critical for increasingly demanding games and applications. Consider a CPU with a solid balance of clock speed and core count to match your gaming needs. Researching CPU benchmarks on trusted tech sites can help compare real-world performance.
Equally vital is the GPU, the powerhouse driving your visual experience. For a fluid, high-definition gaming venture, the GPU must handle your resolution and frame rate targets. Whether you aim for 1080p gaming or 4K adventures, ensure that your GPU meets these demands. Look for reviews and benchmarks that test GPUs across a spectrum of games similar to your favorites.
Turning our attention to RAM, it directly influences the number of tasks your PC can handle simultaneously. A minimum of 16GB is recommended for modern titles, providing a seamless experience across gaming and streaming. Look for RAM that offers higher speeds and compatibility with your chosen CPU and motherboard.
Storage has transformed considerably, with SSDs now the preferred choice due to their speed. A combination of a smaller, faster SSD for your operating system and games, paired with a larger HDD for media and backups, often strikes the right balance between speed and capacity.
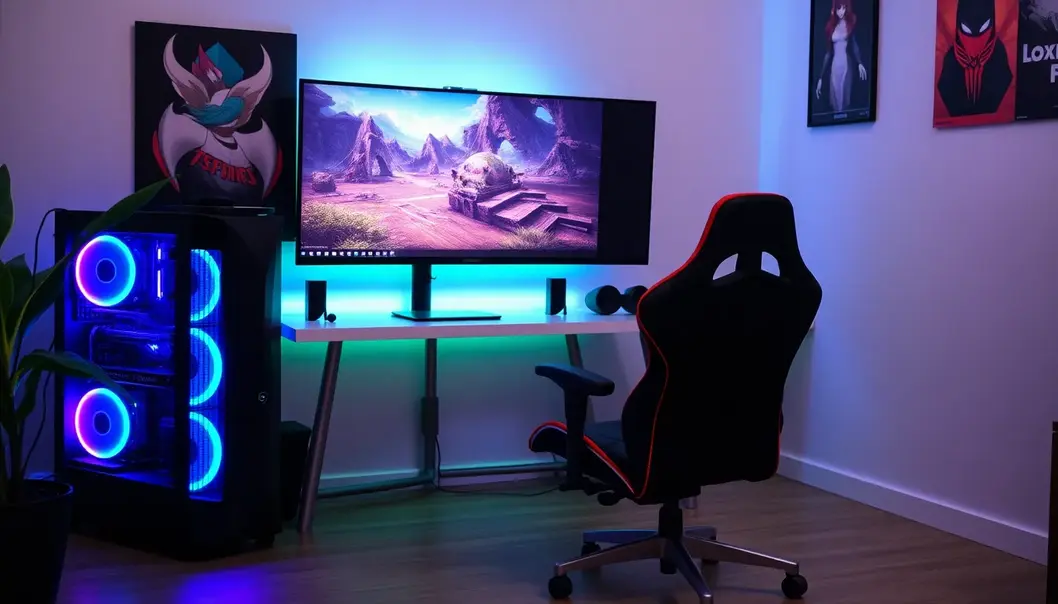
While performance is paramount, young adults often prioritize aesthetic expression. RGB lighting and sleek case designs can transform a PC into a personal statement. When selecting a case, ensure sufficient airflow and space to accommodate your components while still reflecting your style. Many components today feature customizable lights, allowing for unique visual themes.
For comprehensive insights, rely on community forums, tech blogs, and YouTube channels dedicated to gaming hardware. These platforms frequently feature detailed reviews and discussions around both performance and aesthetics, assisting in informed decision-making. Remember, crafting your ideal gaming PC is not just about the specs but marrying those with creativity that illustrates who you are as a gamer.
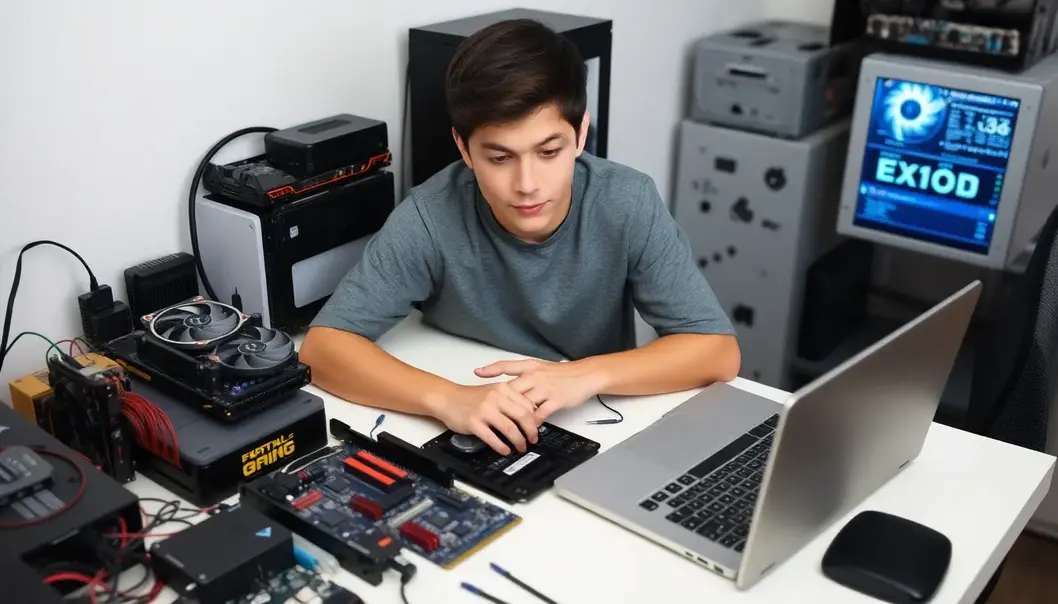
Assembling Your Gaming Machine
Before diving into the assembly of your gaming PC, it’s crucial to take safety precautions seriously to ensure both your safety and the longevity of your components. First and foremost, ensure you are grounded by using an anti-static wrist strap to prevent electrostatic discharge, which can damage electronic components. Set up your work area in a clean, well-lit space with enough room to work comfortably.
You’ll need a few essential tools to get started: a Phillips head screwdriver, zip ties, thermal paste (if not pre-applied to your cooler), and a pair of scissors or diagonal cutters for managing cables. A magnetic bowl or tray is also useful for keeping screws from getting lost.
With your environment and tools ready, it’s time to start the assembly. Begin by installing the CPU onto the motherboard. Open the CPU socket lever, align the marked corner of the CPU with the corresponding corner on the socket, and gently place it down. Close the socket lever to secure the CPU.
Next, insert the RAM into the designated slots on the motherboard. Make sure to unlock the clips on each side of the slot, align the notch on the RAM stick with the slot, and press down until the clips snap back into place.
Once the motherboard is prepared, install it into your case. Locate the standoffs inside the case and align the motherboard with these points, ensuring the I/O ports fit through the back panel cutout. Secure the motherboard with screws, using gentle pressure to avoid damage.
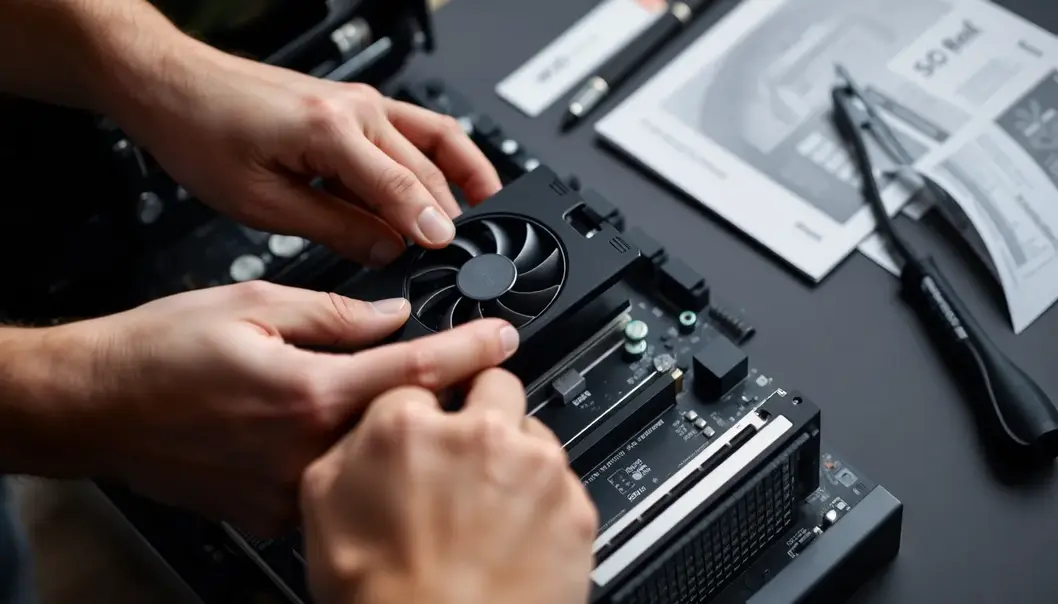
Mounting the GPU is the next step. Find the PCIe slot on your motherboard—usually the one closest to the CPU—and remove any bracket covers on the back of the case necessary to fit the GPU. Slide the GPU into the PCIe slot and secure it with screws to the bracket.
You’re nearing the finish line. Attach your storage devices such as SSDs or HDDs to their respective bays or mounts, using the appropriate screws or tool-less mechanisms, depending on your case design.
Cable management is significant for both functionality and aesthetics. Use the provided zip ties to neatly route and bind your cables, keeping them out of airflow paths to promote better cooling. Run cables along the back panel of your case to keep them hidden from view.
Before powering on your system, double-check all connections and ensure your components are firmly seated. Common beginner errors include loose cables or improperly seated RAM. If the system doesn’t boot, your first step should be to recheck these connections.
Although directly integrating visuals in this text isn’t possible, consider referring to detailed visual guides or diagrams available on PC-building forums and websites. These resources offer invaluable clarification during the build process.
By following these steps, you’ll not only create a functional machine but also gain a deeper understanding of the intricacies involved in building a custom gaming PC. Remember, patience and attention to detail can significantly influence the success of your project.
Final words
Creating your own gaming PC is not only satisfying but also empowers you with knowledge about the hardware that fuels your gaming adventures. As you power it on for the first time and see everything running smoothly, you’ll realize that it’s not just a machine — it’s a manifestation of your taste and dedication. With each game you play, you’ll enjoy the seamless performance that only a custom-built PC can offer.
Ready to start building your dream PC? Check out our exclusive deals on the best gaming components now!
Learn more: https://www.yourgamingstore.com/build
About us
Your Gaming Store offers a curated selection of high-performance gaming components with expert advice to help you build the perfect custom gaming PC. Enjoy competitive prices, customer reviews, and detailed product specs to meet your gaming needs.

